Introduction
Like other security cameras, Google Nest smart cameras provide numerous features that enhance modern homes. With their motion alerts, two-way audio, and remote access, you can watch your property and relax. Yet, a Nest camera setup must be finished to get these perks. Whether you’re a smart device novice or want to ensure the most effortless setup, this guide will help you with the installation.
Starting Setup
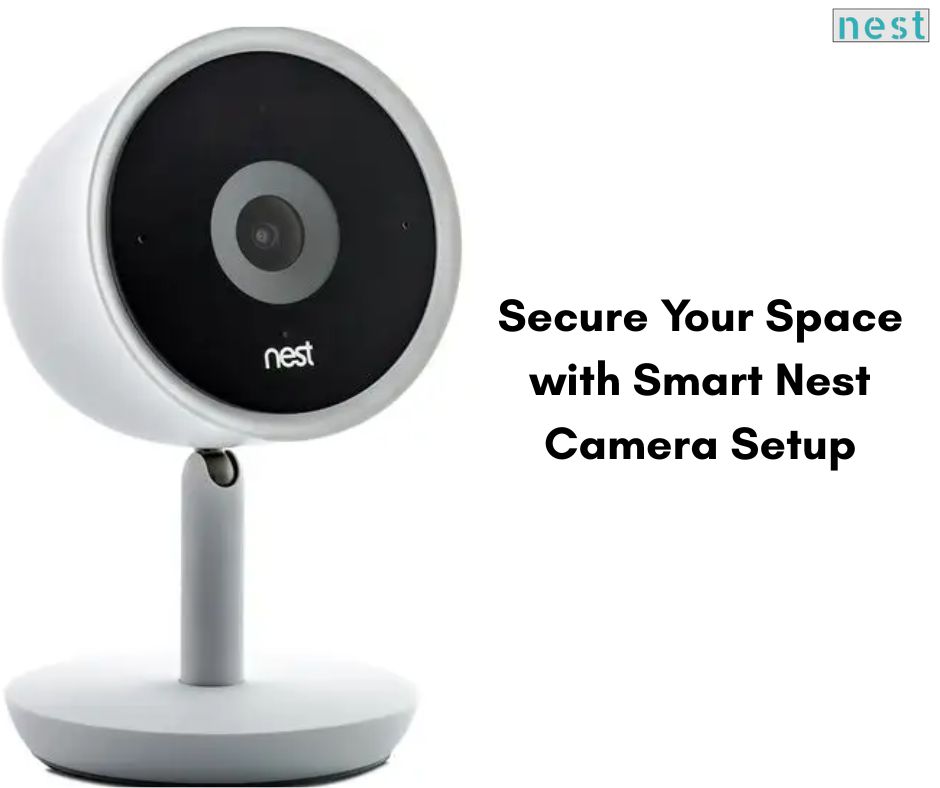
First, you will want to unbox your Nest Cam. Make sure that you have all of the parts, including the power adapter, cable, and mounting equipment. Once you are all ready, download the Google Home app (recommended for newer Nest Cams) or the Nest app (for older devices). Both will take you through the entire process of setting up your Nest Cam.
Setting Up Your Nest Account
You will be required to create a Nest account before linking any of the cameras to your device. This is a very important step owing to the fact that the account will enable your devices to be linked to your phone, thereby allowing remote access. The Nest account creation only asks for an email, a password, and a short verification. After the account is made, you may proceed to link your cameras.
Connecting the Camera
Plug in your Nest Cam and launch the app. Tap “Set up device’ and scan the QR code that’s printed on the back of your camera. The app will identify your device, then walk you through connecting your camera to Wi-Fi. Make sure your Wi-Fi strength is good enough to stream smoothly and receive reliable alerts.
Camera Location and Customization
Location is important for monitoring capabilities, of course. When inside your home, you can place your camera on a higher shelf or mount it to capture as wide an area as possible. For outdoor use, you may want to install it covering the entryways, ensuring it’s out of reach but within the range of a good Wi-Fi signal. After you have installed your camera, you can customize the camera’s motion detection alerts, activity zone, and either video quality or video quality and frame rate listed in the app.
Testing and Features
After you’ve installed your camera, you’ll want to check the live video feed to confirm the camera angle you want. You may also want to check your two-way communication, night vision, and cloud storage features. There may be many of these features you will want to change to meet your security needs.
Conclusion
By following the steps listed in this article, your Nest Cam will be set up and monitoring your home. With a reliable Wi-Fi signal, the proper placement in your home, and an active Nest account, your camera will be in operation twenty-four hours a day.

Leave a comment